If you’re one of the legion of fans who compose (and edit) primarily in Scrivener, then this post probably isn’t for you. But if, on the other hand, you prefer to write (or edit) in MS Word,* then I’d like to show you a little trick I learned that has made composing in word more user-friendly for me.

Simply put, I’ve started putting headings in my manuscripts to make things easier to find (and move around).
About Headings
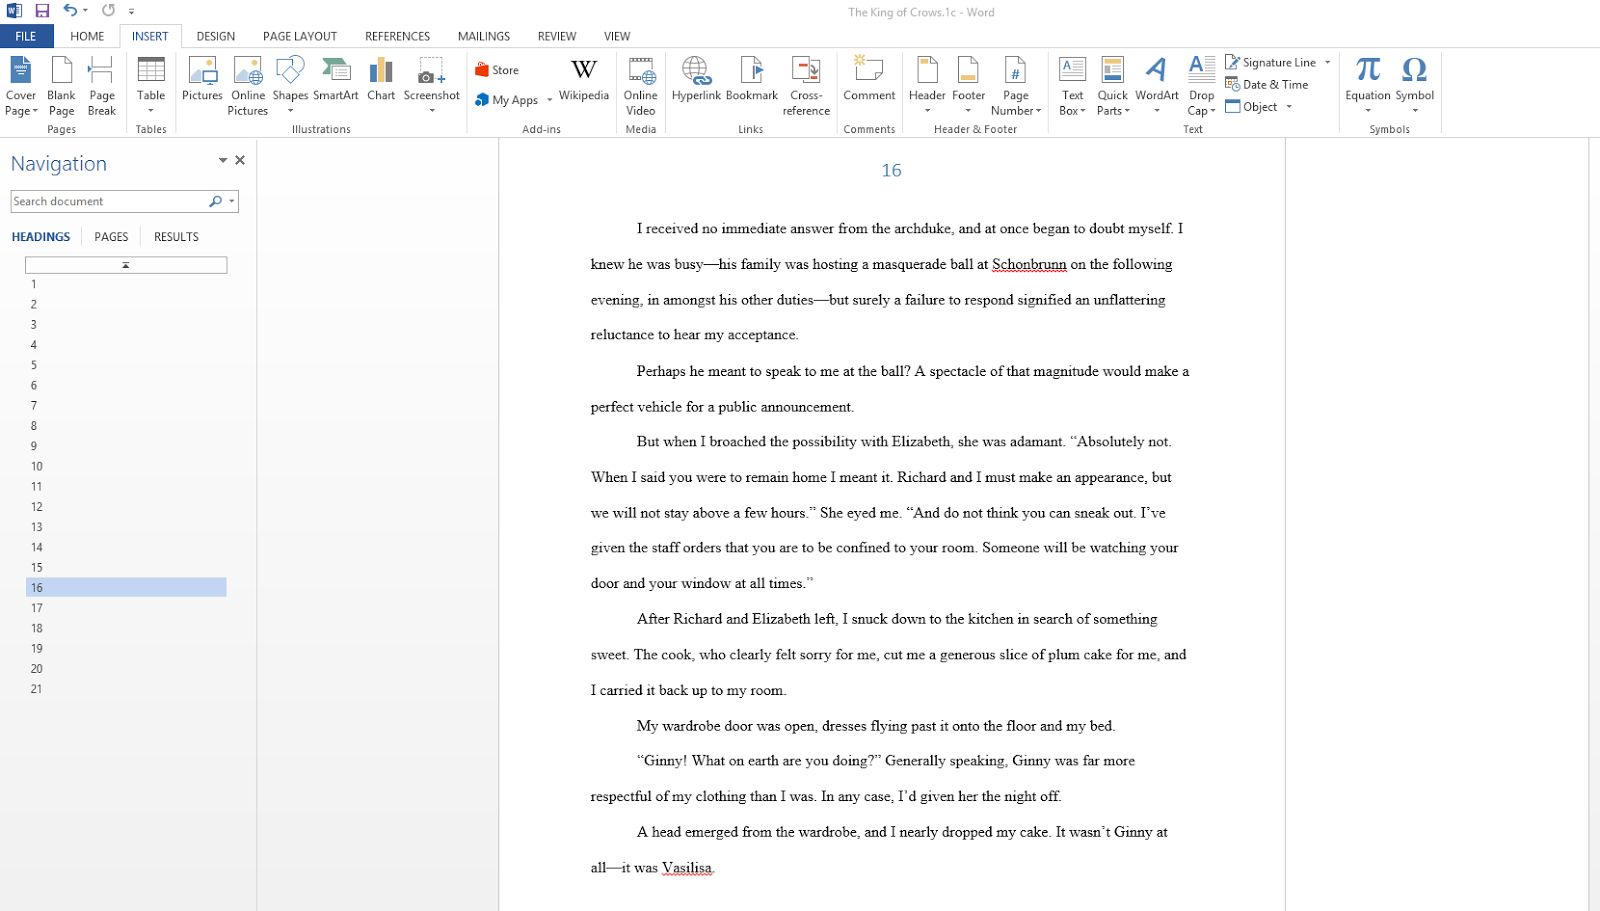
Did you know that Word has an option that lets you view chapter headings (all levels) in a sidebar on your computer? For instance, my current work-in-progress looks like this: I can see all of the chapters at a glance in the side bar, and if I need to move from one chapter to another, it’s relatively easy to find, instead of scrolling through the document or using the find function. You can also use descriptive titles to make finding a specific chapter even easier to find.
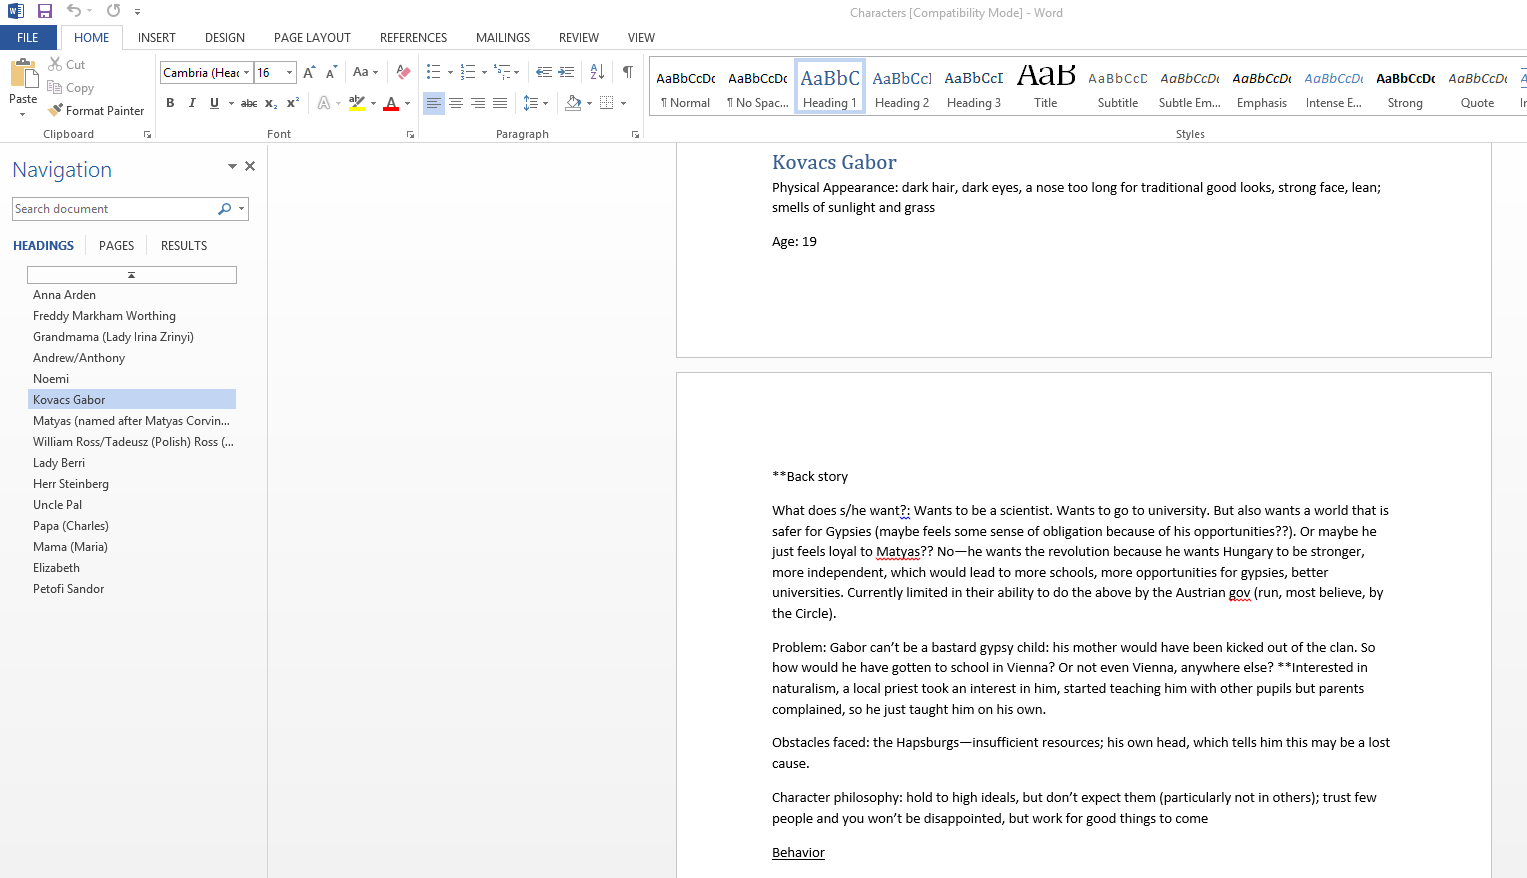
But that’s a pretty basic use for the headings. I use headings to organize my character file, which lets me move easily between characters (and if I wanted, I could customize these headings with subheadings for physical description, backstory, fears, guiding philosophy, etc.):
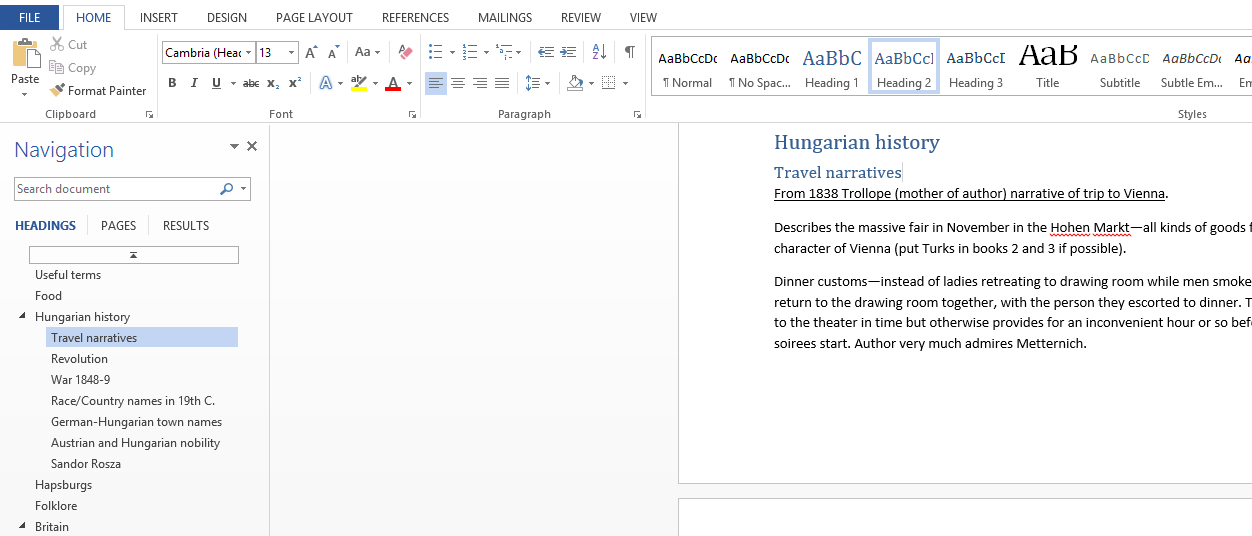
I also use headings (and subheadings) for my research notes, so that I don’t have to try and search 40+ pages. Using headings also makes it easy to figure out where to put new research notes. You’ll notice that under “Hungarian History” I have nested subtitles: Travel narratives, Revolution, War 1848-9, and more.

How to Use Headings in Word
Using these headings hasn’t necessarily made writing easy–I’m not sure anything can do that–but it has made organizing my writing easier. So, how do you do this?
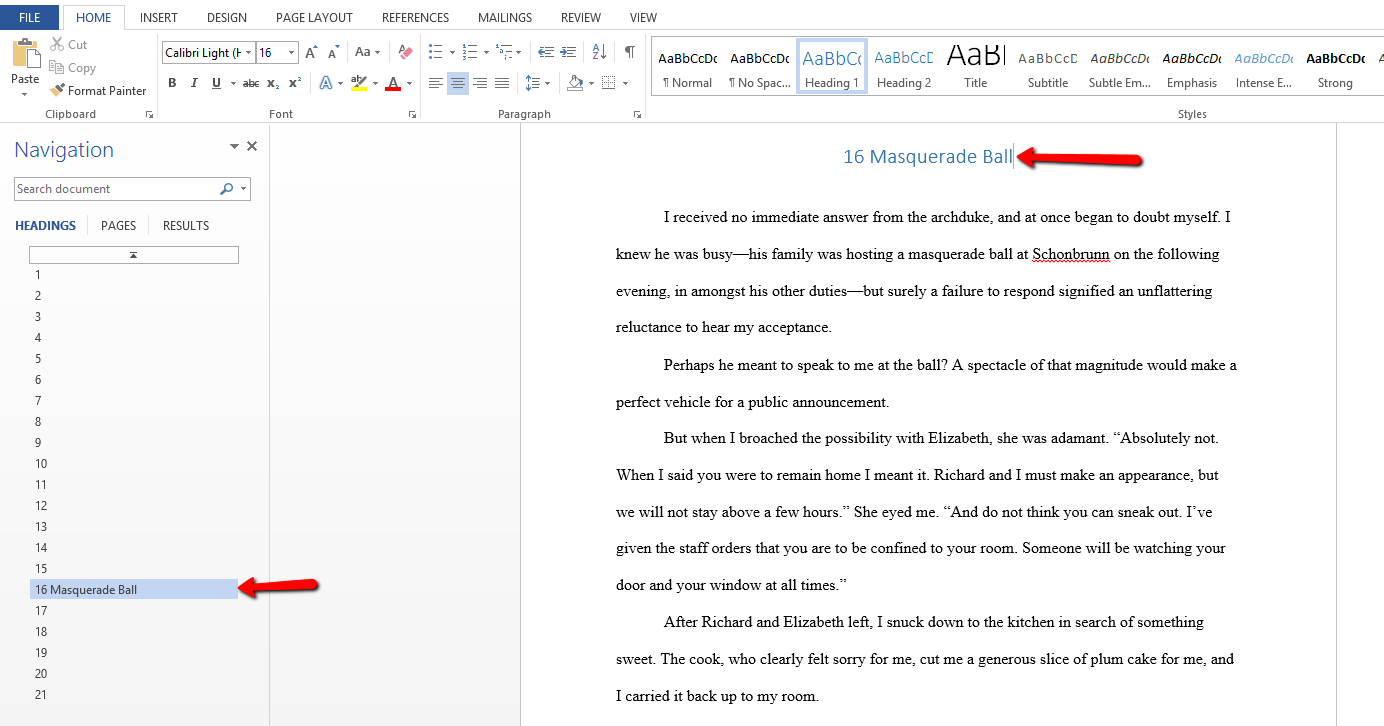
First, go to Home and select the heading level at the right. (For reference, “Normal” is the standard text and won’t show up in a sidebar).

I usually use Heading 1 for chapters, Heading 2 for subdivisions in my notes (you can see below that Heading 2 is smaller and inset more in the navigation pane).

Once you’ve selected the heading you want, type in your text and it should appear on the navigation bar.
If you can’t see the navigation bar, go to “View” and click “navigation pane.”

It’s really that simple, but it’s made a difference in writing for me.
What favorite tools or tricks do you have for writing novels in Word?
*Or, like me, you simply haven’t bothered to figure out that copy of Scrivener you already purchased . . .
____________________________

Rosalyn Eves is a part-time writer, part-time English professor, and full-time mother of three. She loves all things BBC, especially costume dramas and mysteries. When not wrangling children (and sometimes when she should be wrangling children), she’s often found reading. Her debut novel, THE BLOOD ROSE REBELLION, is forthcoming Fall 2016 from Knopf. She’s represented by Josh Adams of Adams Literary.


I love this! Thanks for teaching me! I've also noticed that you can change the font, size, italics, etc. after you make something a heading. If you're OCD like me and don't want it to be their formatting. 🙂 Great post!
LikeLike
Mind. Is. BLOWN. It's so much like Scrivener!! Who knew??
Thank you!!
-S.
LikeLike